
Introduction:
Installing WordPress on a client’s website can be a straightforward process if you follow these simple steps. In this guide, we will take you through the process from logging in to your client’s account to the successful installation of WordPress.
Step 1: Logging into the Client Account
The first step is to log in to your client’s hosting account. You will need the necessary credentials to access the account.
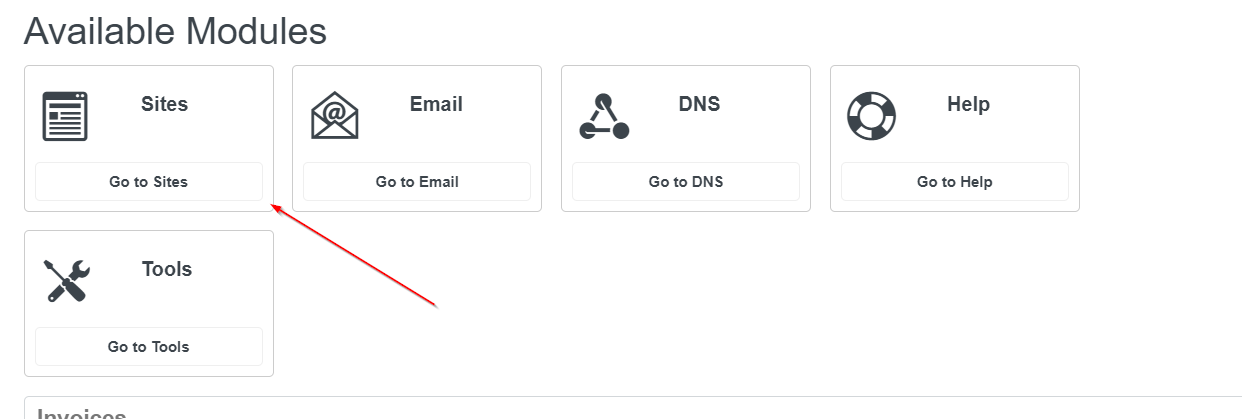
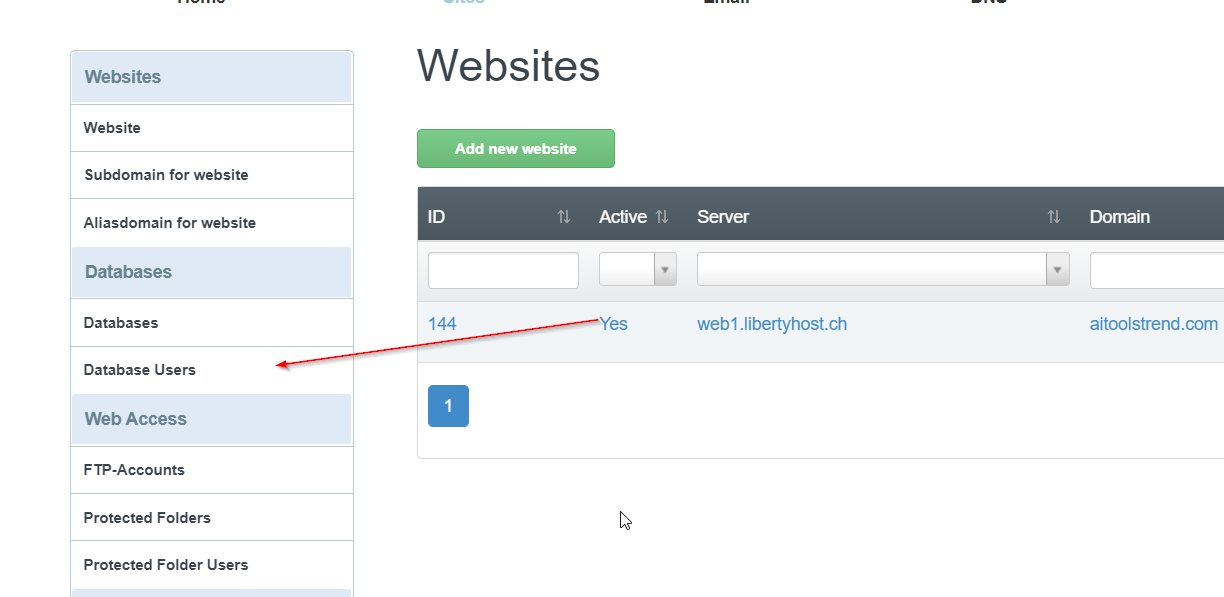
Step 2: Navigating to the Hosting Dashboard
Once you’ve logged in, navigate to the hosting dashboard. This is usually where you manage your website’s backend.
Step 3: Creating a Database User
To run WordPress, you need a database. Create a new database user by following the instructions provided. This user will be used to manage the database.
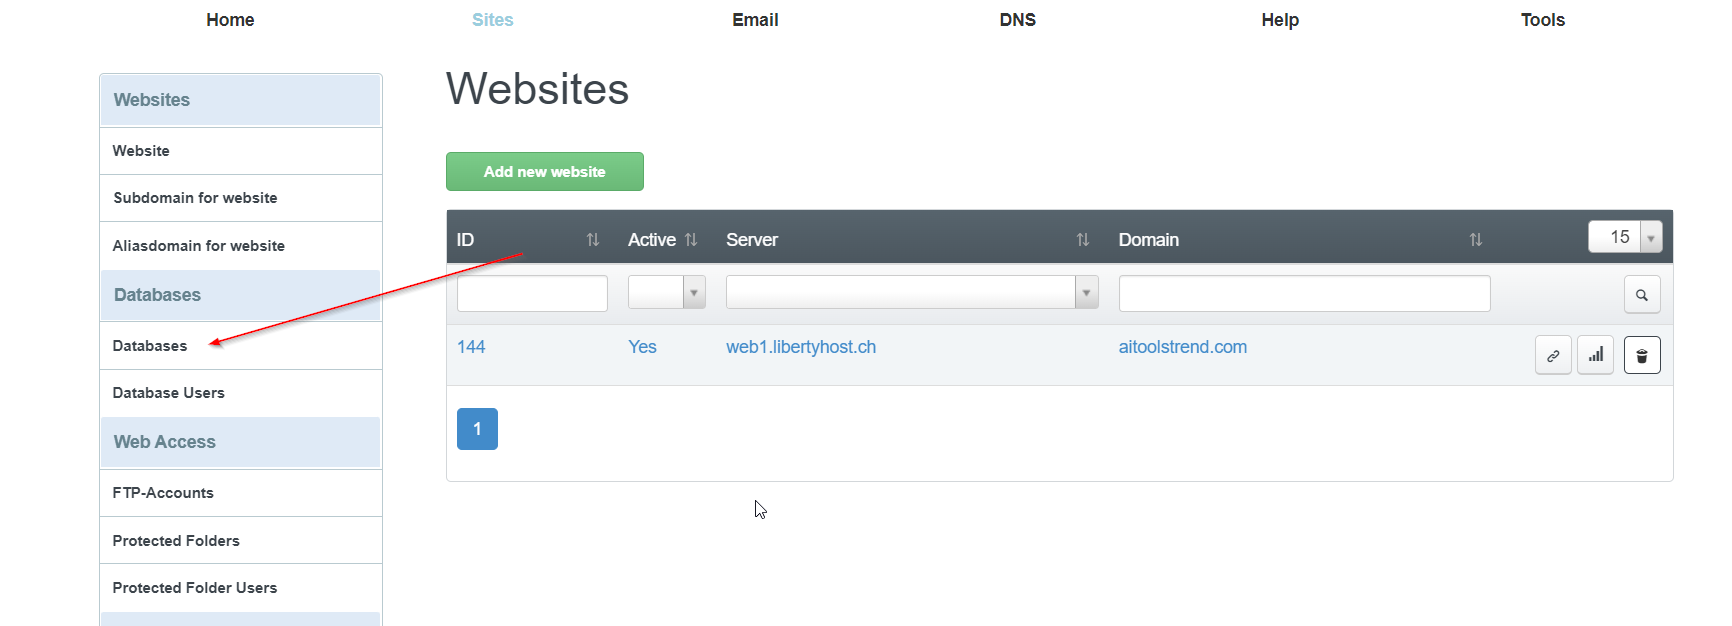
Step 4: Creating the Database
Next, create the actual database that will store your website’s data. Make sure to note down the database name for future reference.
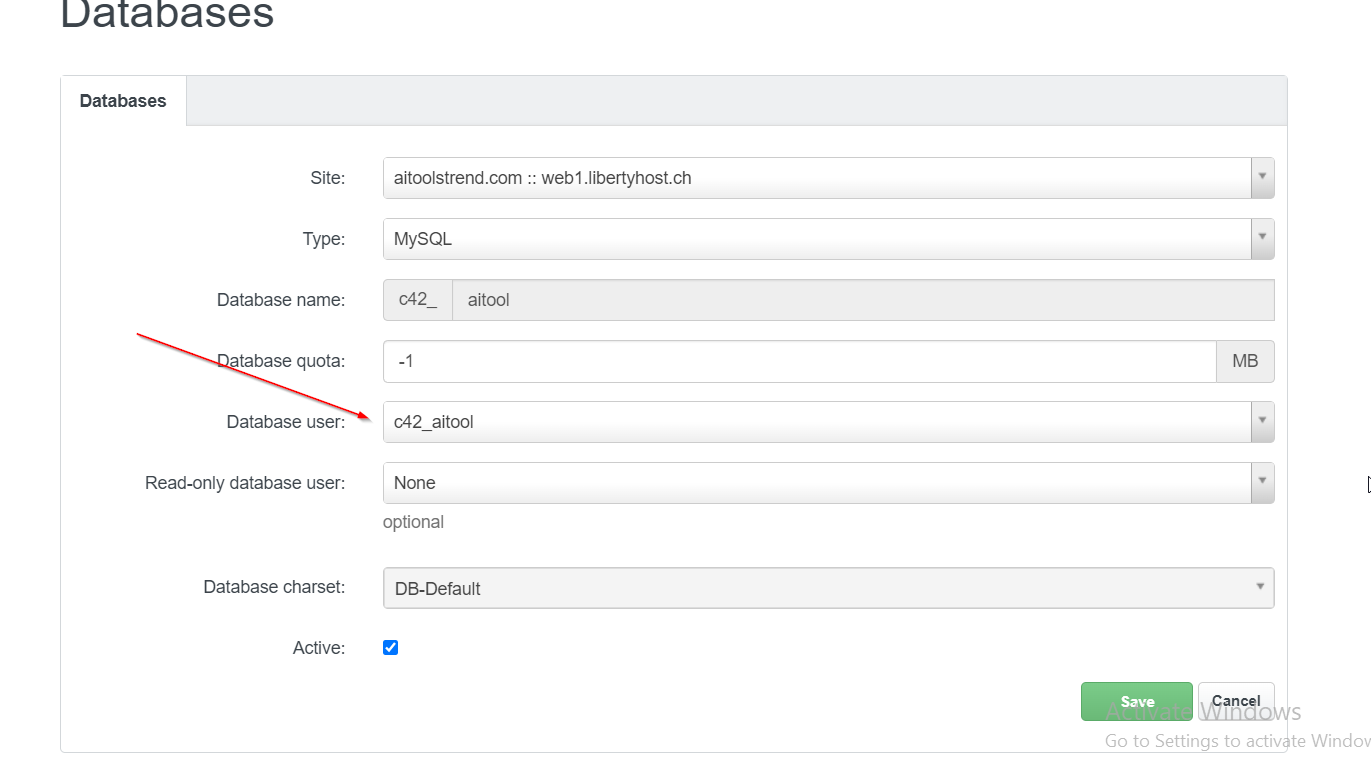
Step 5: Assigning the Database User to the Database
Connect the database user you created in step 3 to the database you created in step 4. This step allows your website to interact with the database.
Step 6: Connecting via FTP
You’ll need to connect to your client’s server via FTP (File Transfer Protocol) to manage files. Ensure you have the FTP credentials ready.
Step 7: Navigating to the Web Directory
Once connected via FTP, navigate to the ‘web’ directory. This is where your website’s files will be stored.
Step 8: Deleting All Existing Files
Before uploading WordPress, it’s a good idea to clean up the ‘web’ directory by deleting any existing files or folders. Be cautious not to delete any important files.
Step 9: Uploading WordPress
Now, upload the WordPress files to the ‘web’ directory. You can do this by dragging and dropping the WordPress folder or using an FTP client’s upload feature.
Step 10: Accessing the Website
Once the WordPress files are uploaded, open your web browser and enter the website’s URL. You should see the WordPress installation screen.
Step 11: WordPress Installation
Follow the on-screen instructions to install WordPress. When prompted, enter the database name and the database username you created earlier.
Step 12: Completing the Installation
After adding the required information, follow the installation process to the end. Once completed, you’ll have a fully functional WordPress website on your client’s hosting account.
Conclusion: By following these steps, you can successfully install WordPress on your client’s website. From logging in to creating the necessary database and uploading WordPress, this guide has covered the entire process. With WordPress installed, you can now begin building a customized and functional website for your client.